Pages

Wednesday, December 8, 2010

"How to Train Your Dragon" Party

My little boy turned 7 this past weekend.  He was so excited we started planning over a month in advance.  He just HAD to have a "How To Train Your Dragon Party".  So this is what we did.

First we had to make the invitations....  We found this silhouette (very similar to "Toothless" from the movie) and I turned it into a SVG file for my Sure Cuts Alot.
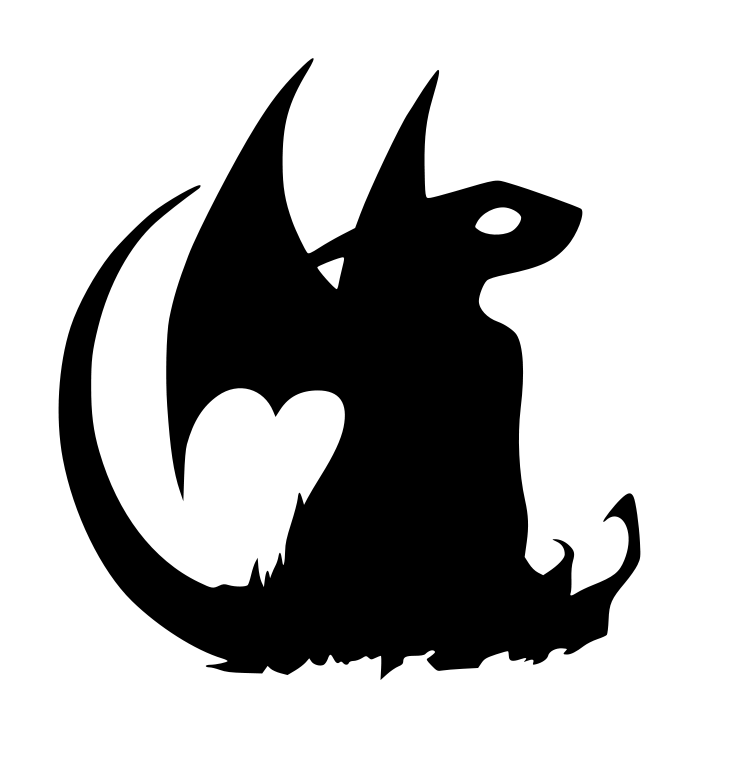
Then he put together the design & wording for his invitation using a "dragon" font we downloaded off the internet.


First, we ran to the dollar store and picked up all the children's size medium red t-shirts they had in stock (sorry, if anyone was looking for them) I used a freezer paper technique to paint  "Toothless" on each shirt so each boy would have their own.


After watching the movie and more pizza & snacks than I thought was possible for little boys to digest, we started playing the games....


1: We need to shoot a dragon out of the sky!... Normally my first instinct would be a pinata.  But apparently, at his school, they are so passe (he he he)  So here's what we did.  I printed out this picture of "Toothless" in flight.  I used the program PosteRAZOR to blow up my little tiny jpg  image into a larger print. 
 Then we purchased some "sticky bug sling shot thingy's" from Wal-mart's birthday section (I'm pretty sure that is the technical term for them).  I laminated the picture and hung it as high up on our family room wall as it could go. The boys all took turns (well, at least in the beginning) throwing their "bugs" at "Toothless".  It was pretty hilarious watching them figure out how to use a "sling shot bug" and then all trying, at once, to hit the same spot on toothless.

2: WE HAVE TO FEED THE DRAGONS: Ok, this one was pretty easy.  I printed out some pictures of the dragons from the movie.  Applied them to foam board and cut out "feeding spots"


Then, as we all know, dragons eat fish right???? (Alright, that is what I was informed)  So I ran into the craft room and used some scrap shark material to make the boys bean bags. (Which they all got to take home with them)

3: Pin the Tooth on Toothless:  Need we say anymore.  I just tweaked the "donkey-tail" game.  Printed out this adorable picture of Toothless and cut out some white triangles.  It was adorable!

And we can't forget the CAKE!  My son doesn't like chocolate cake or icing, and after many failed attempts we determined that Mommy just can't color white icing black (like Toothless)  So he settled on green, as long as there were flames coming out of his mouth! (I admit it, the flames are a Christmas Decoration from Wal-mart)  Inside we colored the cake Red & Blue (because dragons are different than other animals, they have red & blue stuff in them)
 At the end of the party each boy was given their own bag (yup decorated with Toothless) to take home!  Complete with too much candy, their sticky bug thingy & a shark bean bag!


Everyone had a blast, and somehow my family room survived the boys for an afternoon!  What a great birthday party!

Wednesday, December 1, 2010

A Rose Bud Christmas Tree

I've got a house full of girls (5 of them, not including me) and much to the chagrin of the boys (only 3, if you count my hubby) the girls are GIRLY GIRLS!  I'm sure many of you know exactly what that means.  Ruffles, lace, flowers, pink, purple, PINK, and girl stuff all over.  While I was relaxing last night my adorable 5 year old asked me a question?????

"Mommy, why aren't Christmas Tree's PINK?"  She was so serious it was cute.  I gave her the generic answer of , "because their green sweetheart, that's the way god made them"  Apparently that was not the appropriate answer.  So today she asked if we could make her a "GIRL" tree.  And then it hit me.

ROSES!

I figured out how to make really cute roses with my cricut & SURE CUTS ALOT software.  Why not make a whole bunch of them and make her a little tree sign.   Here is how I did it!

I tweeked a jpg that I found on google of a scalloped spiral so that it would cut on my cricut.  (using inkscape and Sure Cuts Alot 2)

Then using some mauve (ok, fine, i'll call it pink) ink that I picked up at Roberts for $1 I just brushed it over the edges of the scallops.


Then I used my embossing stylus (but anything long and skinny like a skewer would work) and I started at the end and started rolling up the spiral.

 When you get it all finished it looks like a really tight rose bud.  You can glue it like that or I let go to loosen it up a bit. 

Then just put some glue on the bottom to hold it all together.


After you get all your roses complete call in your favorite 5 year old helper to give you a hand.


Have her pose for a picture!  Not that she wasn't already doing that.... Then decide what type of background you want.  I originally wanted to go with a Black or darker background.  But little girls can be pretty insistent.  It had to be WOOD, after all it is a TREE!

So I pulled out some scrap flooring that I had laying around and i had her draw a light sketch of what she wanted her tree to look like.

Not too shabby if you ask me (especially for a 5 year old)


Then just start gluing away.  (Don't worry, I was supervising the use of the hot glue gun with my little girl, no one got hurt in the production of this tutorial)


Stop for yet another posed picture.....


Add a ribbon bow at the bottom for the "tree stump" and VOILA!  A Girly "pinkish" Tree..


It turned out better than I thought it would.  She hasn't decided if she wants to add something else to it (It is her choice, because it's her "pink" Christmas Tree)  But I like it just the way it is.  I can't wait till Valentines day.  I'm gonna make a heart out of Red velveteen paper!

Monday, November 29, 2010

Teacher's Gifts

I struggle every year with finding gifts.  Gifts for my family, for my friends, my neighbors, the mailman...... you get the picture.  I love to give gifts, cookies, etc.  The one I struggle with the most is the gift for my kids teachers.  I have a lot of friends who are teachers and I know they LOVE everything their students give them.  I know that they are all heartfelt and loving, homemade and store bought.  Everything is appreciated.  But I have this desire beyond belief to always give them something that they have NEVER received before.  It is getting increasingly harder and harder to find something unique each year.

Last year my kids were REALLY into mod podge.  So we made some cute name plaques for each of their teachers and principles.  I thought they turned out great!  This year we've decided on something a little more out of the box....

RICE BAGS!

My kids each have their own rice bag.  They are the best comfort (second to moi) that my kids could have.  They heat them up in the microwave when they come in from playing in the snow.  We've got them in the freezer for the little bonks and bruises.  They stick them under their sheets before they hop into bed at night so their toes don't get cold (how cute is that)

But I figured I couldn't exactly just hand them any old bag.  So my kids picked out the material and we pieced together the fronts.  We then decided to write a poem to go along with them (since, apparently just writing a description or instructions is SO five minutes ago!)

This is what we ended up with....
 

 The lizard one is for the one male teacher my kids have.  My daughter INSISTED that he is obsessed with Lizards.  So we had to go with that print.  The others are made with a print from Mary Engelbreit.  It just looked so happy and cheerful, I had to use that one!
Here they are all together!  Now to get working on my sister gifts.... I'll show you those tomorrow!