Well, at Target today I found my inspiration.

(sorry, camera phone!)
The only problem is these little babies are $10 each (with 7 kids, that wasn’t going to happen, and to be honest… if I only had one I still wouldn’t have spent $10 on it) And they really have no “design” to them. To put it bluntly, they are blah…
Once I got home I got to work. I cut apart a fairly stiff box into 10” x 12” pieces.

I used my spray adhesive to adhere some neutral fabric onto the cardboard.

Now put that aside while we work on the folder part. Take a regular manila file folder and cut it down to 7 ½” x 11 ½” (basically I cut off the top)

Next ou want to measure out both on the front & back 2” & 5” from the bottom on both sides
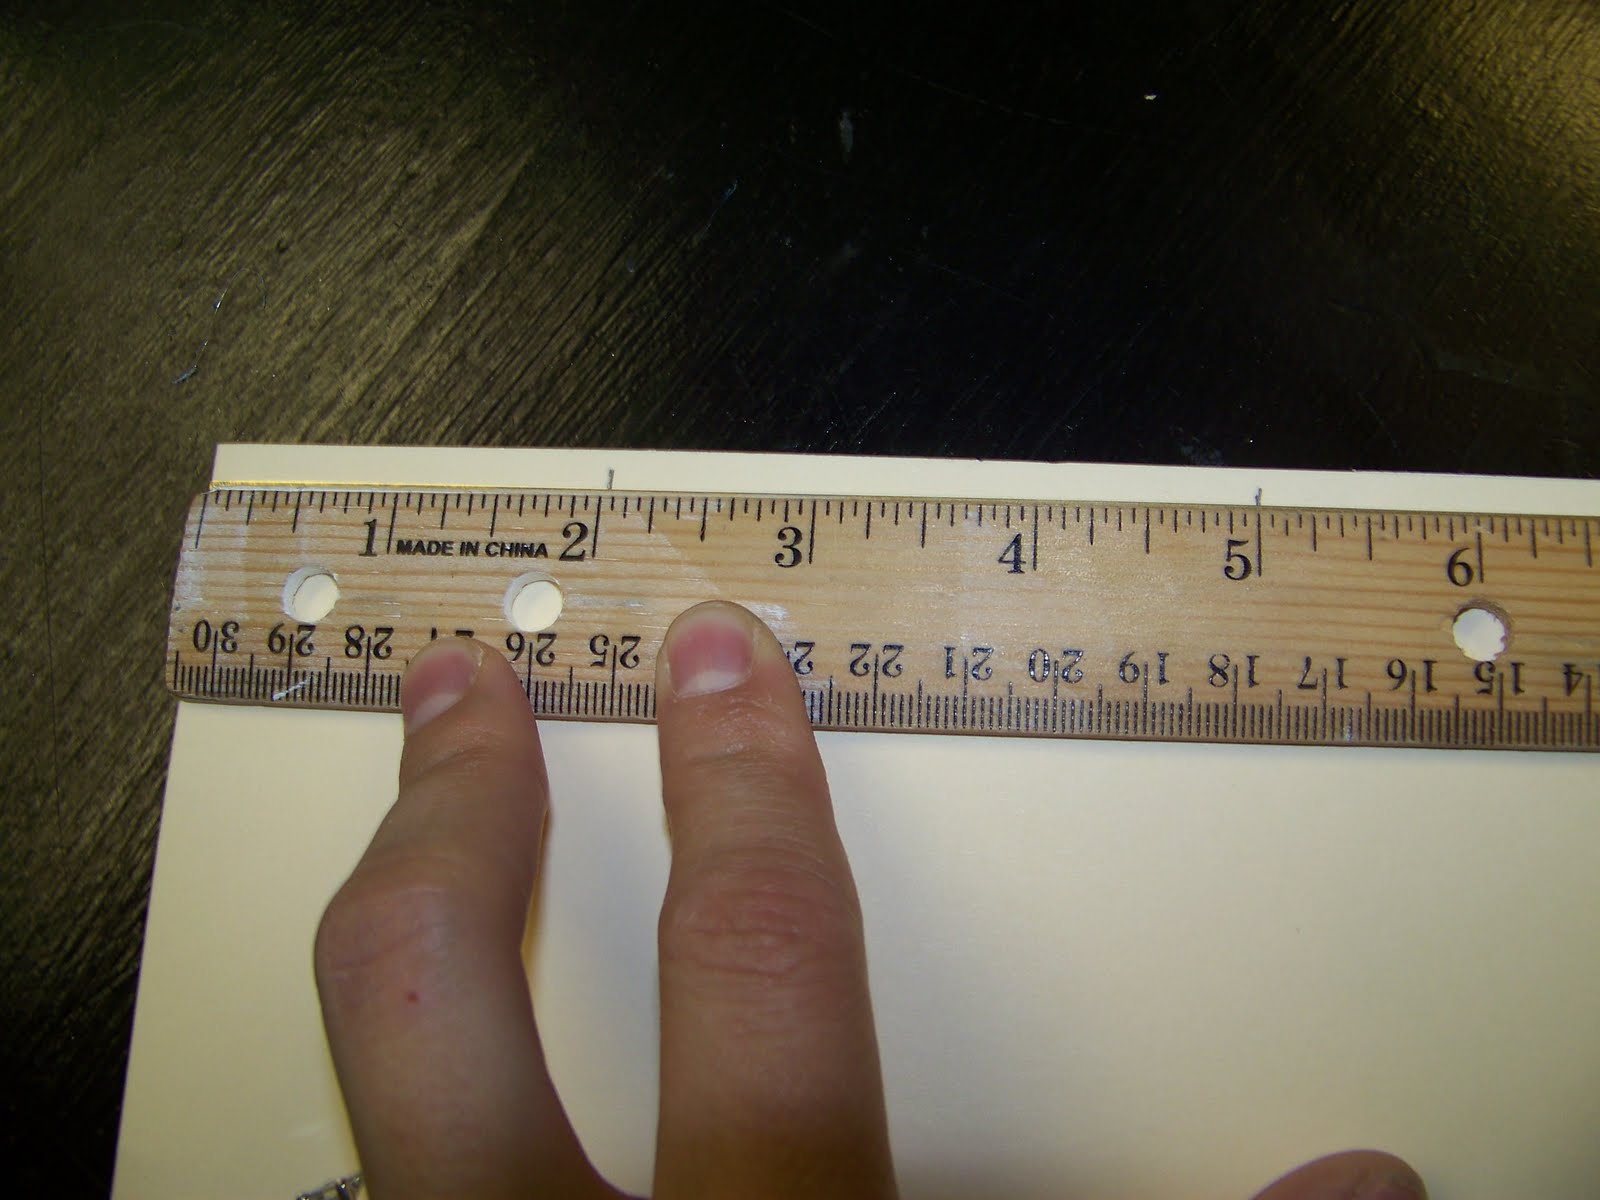
Cut 4 pieces of elastic (I used 1/8” elastic) into 1 ½” pieces and adhere them with hot glue to the back of your file folder.

Now you want to adhere the file folder to the fabric covered backer. I just stapled mine right onto the back

Now using your decorative paper, you want to cut 2 pieces, one that is 2" x 11 1/2" and another that is 7 1/2" x 11 1/2". Glue the 2" piece along the top edge of the back of the file folder.

Now close the folder and glue the ends of the 4 pieces of elastic to the front of the folder

Take your larger paper (the 7 1/2" x 11 1/2") and adhere it to the front of the file folder, over the top of the elastic straps.

Now you can hang these where ever you want, I chose in the laundry room right next to the backpack/coat hooks.

The entire cost of this project was ZERO, everything used I already had in my stash or garage.


