
ROSES!
I figured out how to make really cute roses with my cricut & SURE CUTS ALOT software. Why not make a whole bunch of them and make her a little tree sign. Here is how I did it!
I tweeked a jpg that I found on google of a scalloped spiral so that it would cut on my cricut. (using inkscape and Sure Cuts Alot 2)

Then using some mauve (ok, fine, i'll call it pink) ink that I picked up at Roberts for $1 I just brushed it over the edges of the scallops.


Then I used my embossing stylus (but anything long and skinny like a skewer would work) and I started at the end and started rolling up the spiral.

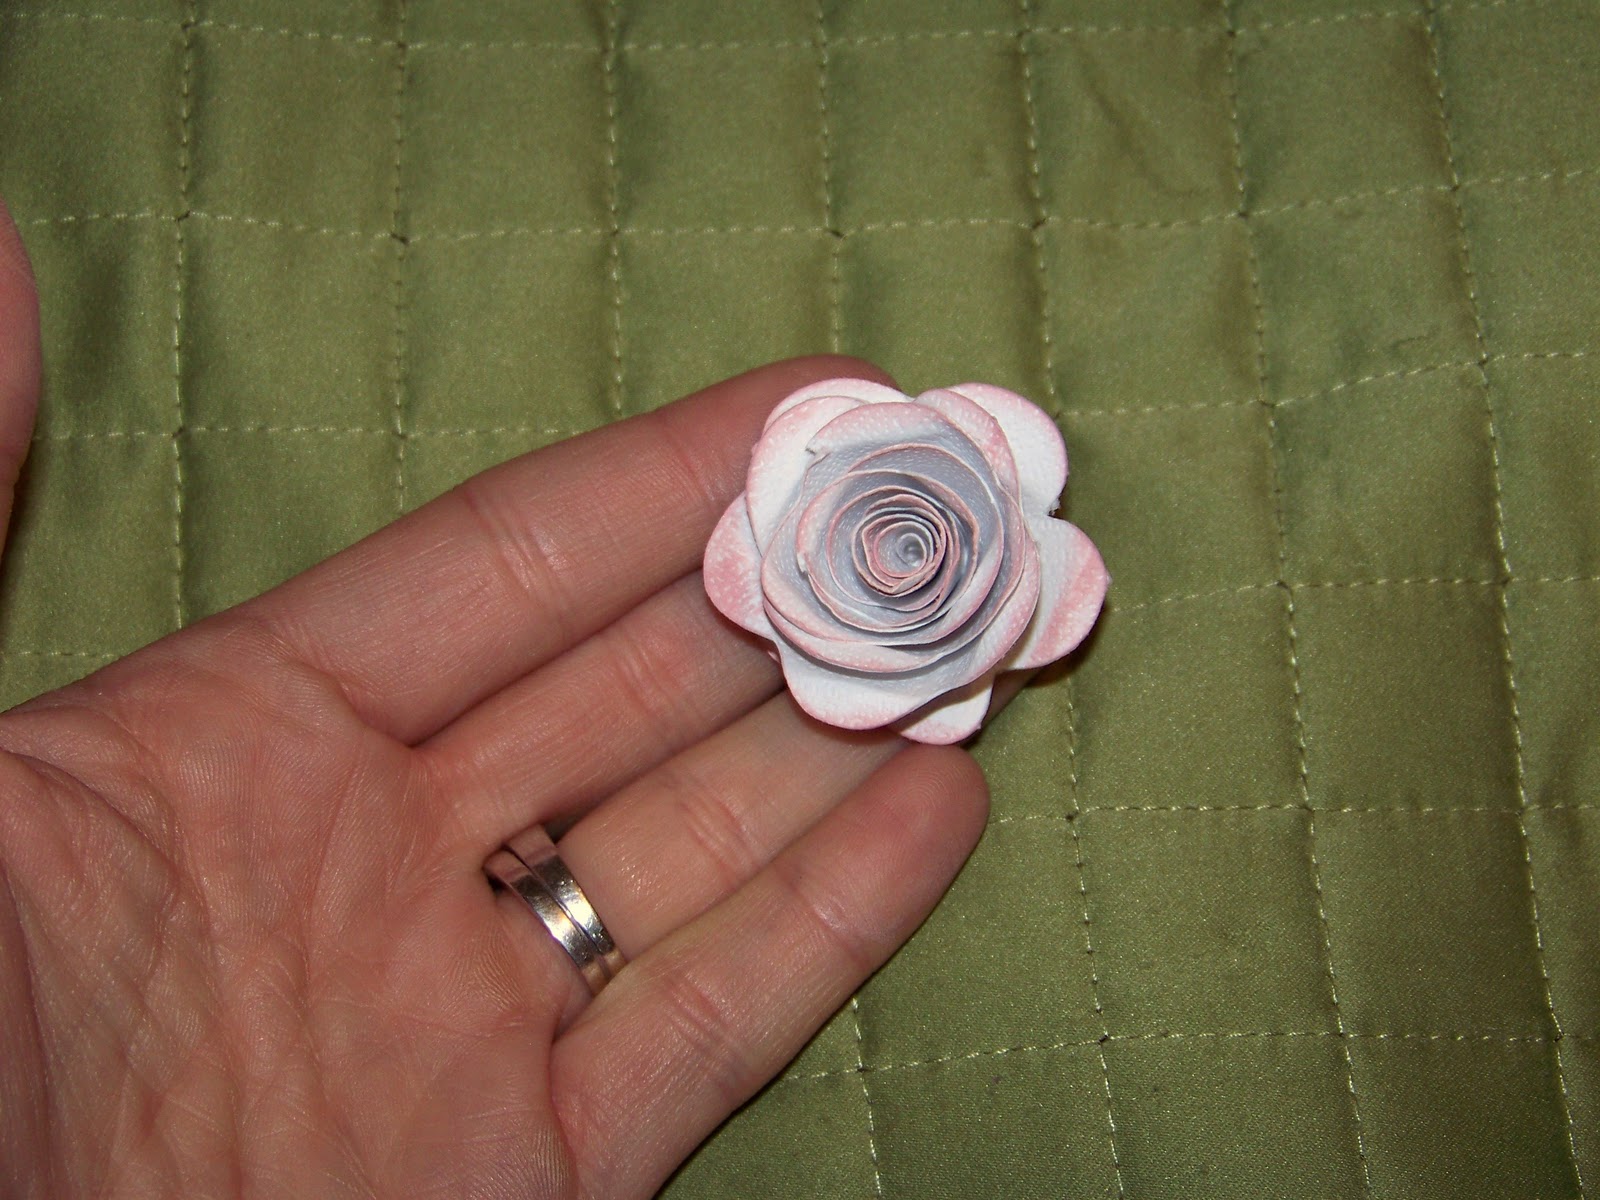
When you get it all finished it looks like a really tight rose bud. You can glue it like that or I let go to loosen it up a bit.

Then just put some glue on the bottom to hold it all together.
After you get all your roses complete call in your favorite 5 year old helper to give you a hand.

Have her pose for a picture! Not that she wasn't already doing that.... Then decide what type of background you want. I originally wanted to go with a Black or darker background. But little girls can be pretty insistent. It had to be WOOD, after all it is a TREE!
So I pulled out some scrap flooring that I had laying around and i had her draw a light sketch of what she wanted her tree to look like.

Not too shabby if you ask me (especially for a 5 year old)

Then just start gluing away. (Don't worry, I was supervising the use of the hot glue gun with my little girl, no one got hurt in the production of this tutorial)


Stop for yet another posed picture.....

Add a ribbon bow at the bottom for the "tree stump" and VOILA! A Girly "pinkish" Tree..

It turned out better than I thought it would. She hasn't decided if she wants to add something else to it (It is her choice, because it's her "pink" Christmas Tree) But I like it just the way it is. I can't wait till Valentines day. I'm gonna make a heart out of Red velveteen paper!

 This is the beautiful fabric that my then 6 year old daughter picked out for my craft room. Perfect for the girls... not so perfect for the Mommy. So I decided to upgrade to a "big girl" room.

 Next I grabbed a can of black high gloss spray paint and went to town on my old DI dresser. It looks great now and after adding vinyl lettering to it I can tell just where my fabric's are. Nice and organized (till my little one's get ahold of it) I pretty much spray painted a TON of things, picture frames, boxes, shelves, a chair... Anything that couldn't defend itself :) (I'm pretty sure my 2 year old has a few spray painted fingers & toes as well)
 Next I headed over to "Home Fabrics" to grab some "grown up" material. I found this great black & white print for only $4.99 a yard. LOVE IT! I turned it into all the window coverings by making up these faux roman shades. Then I took some more spray paint and covered a few more of my containers so they would match the room.
 I put this cork board up on the outside door. I used a little ribbon to hang it and then put a couple of magnets on the back so it wouldn't swing everytime we opened the door.
 I just love it! What do you think???